By Mees de Beukelaar
Real-Time Transcription for Social Media Creators
Clean audio and instant transcripts speed editing, improve captions, and turn live recordings into multiple short clips.
Originally published July 6, 2026
In this article
- Transcribe Audio Live Using Scribe v2 Realtime API
- How Real-Time Transcription Works and What Affects Accuracy
- How to Get Cleaner Transcripts Before and During Recording
- How to Turn Live Transcripts Into Clips, Posts, and Campaign Assets
- How to Measure Transcription Quality and Keep Improving Over Time
- FAQs
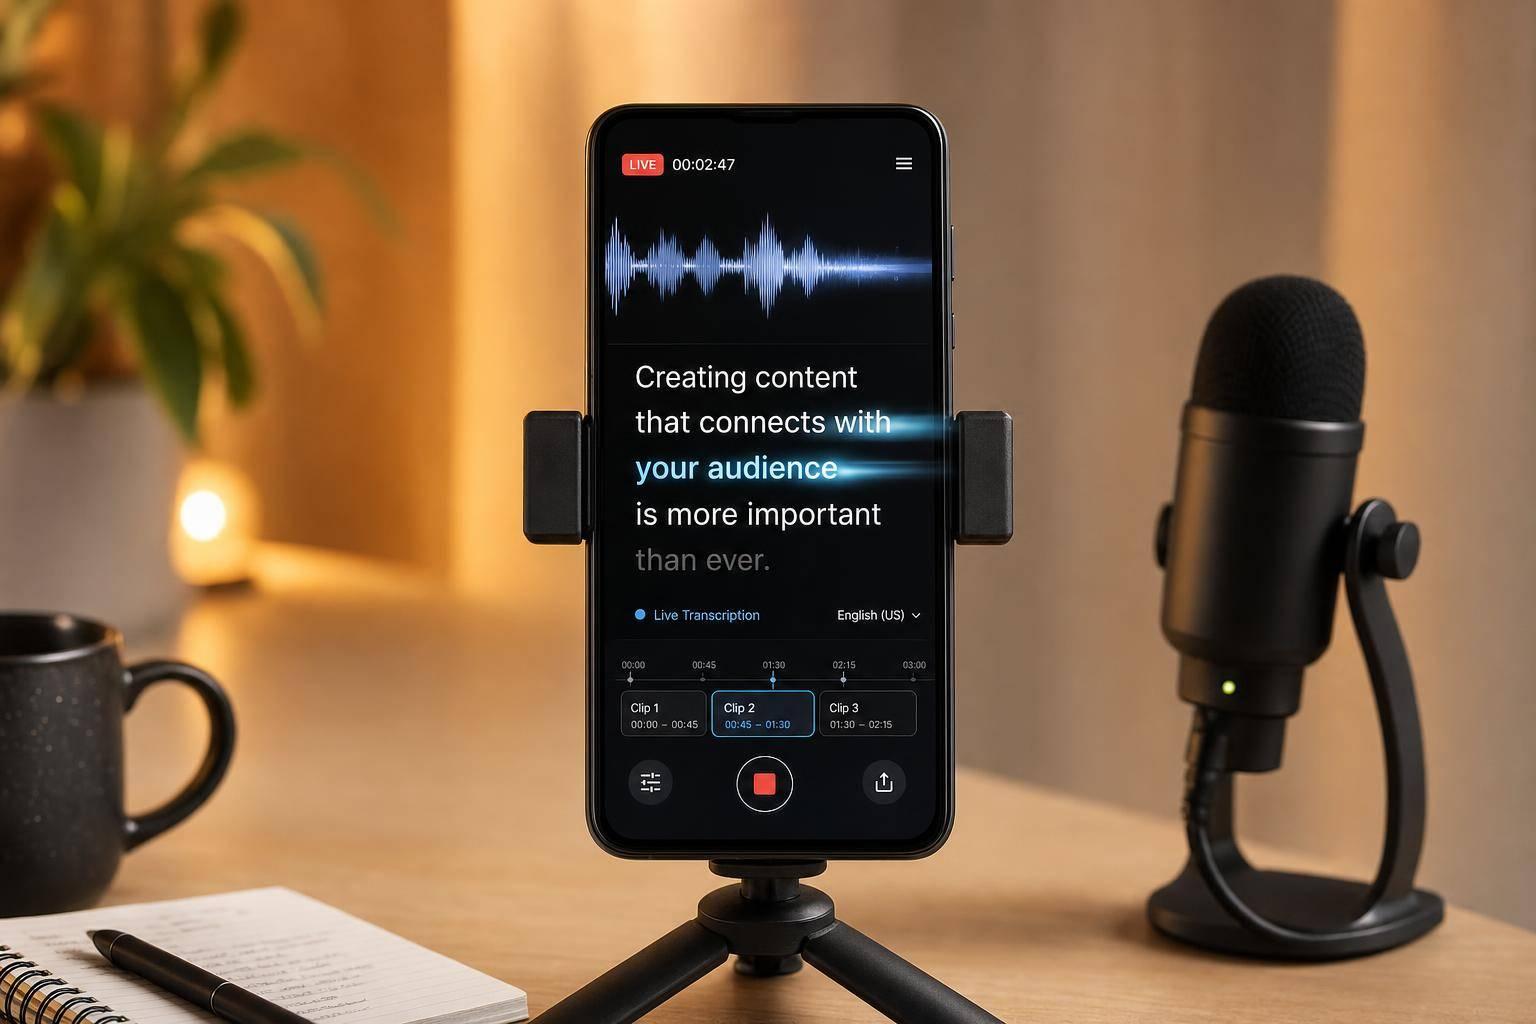
If you want more posts from every recording, start with a clean transcript. Live transcription can show text in 1–3 seconds, help you add captions during streams, and turn one long recording into 6–18 short clips after review.
Here’s the short version:
- Captions matter because 85% of social videos are watched on mute
- Auto-captions can lift views and completion rates, including 55% more TikTok views in the first 24 hours and 40% higher Reel completion rates
- Audio quality drives transcript quality more than anything else
- Clear speech, less overlap, and custom vocab lists cut transcript mistakes
- Good transcripts save edit time because I can scan text instead of scrubbing video
- Key metrics to track are WER, caption delay, correction time, and viewer engagement
If I had to boil the whole article down to one idea, it’s this: better audio in, less cleanup out. A live transcript is not just for captions. It can become clip ideas, quote posts, summaries, and publish-ready assets right after a stream, podcast, webinar, or short video is done.
A few numbers stand out:
- Live transcription often appears within 1–3 seconds
- High-end systems can stay under 300 ms delay
- Clean single-speaker audio can hit 90–95% accuracy
- Poor audio with overlap can fall to 60–75%
- A 2,000-word transcript review should take about 5–10 minutes
- A good target is under 5% WER for clean audio
What should you do first?
- Put the mic 6–12 inches from your mouth
- Record in a quiet room with less echo
- Turn off fans and HVAC noise
- Speak at a steady pace
- Avoid talking over guests
- Add brand names and jargon to a custom word list
I see this as a simple workflow: record clean audio, get the transcript fast, fix the small errors, then turn the best lines into clips and posts. That’s the core point of the article.
Transcribe Audio Live Using Scribe v2 Realtime API
sbb-itb-5598afdHow Real-Time Transcription Works and What Affects Accuracy
Modern ASR systems transcribe speech as it happens. They send audio in 100–500 ms chunks and return a draft that gets cleaned up as more audio comes in. For creators, that changes everything. A live session can turn into usable text almost right away.
But speed alone doesn't help much. The transcript also has to be accurate enough to edit, trim, and turn into other content.
High-end engines now run with less than 300 ms of delay, and captions tend to feel natural when latency stays below 500 ms.
Audio Quality and Delay
Audio quality has the biggest effect on results. Clean, isolated speech gives ASR the best shot at getting words right. Echo, room noise, strong accents, and people talking over each other push accuracy down. In practice, those issues matter more than any one toggle or setup choice.
Condition Expected Accuracy Clear, single speaker (English) 90–95% Multiple speakers, good audio 85–92% Accented speech, moderate noise 75–85% Poor audio, overlapping speech 60–75%Common Causes of Poor Transcripts During Live Content
Two things trip up live transcripts more than anything else in creator workflows: overlapping speech and niche terms.
In panel streams or interview-style videos, people often jump in at the same time. That can confuse diarization, since it works best when speakers sound clearly different from one another and avoid talking over each other. If two voices collide, the model may mix up who said what.
Specialized terms can cause problems too. Brand names, acronyms, and industry jargon are often misheard because they may not appear in a model's standard training data. You say one thing; the transcript spits out something close, but not quite right. That's a headache when you're trying to clip a quote or post polished captions.
Where OpenClip Fits After Recording and Streaming
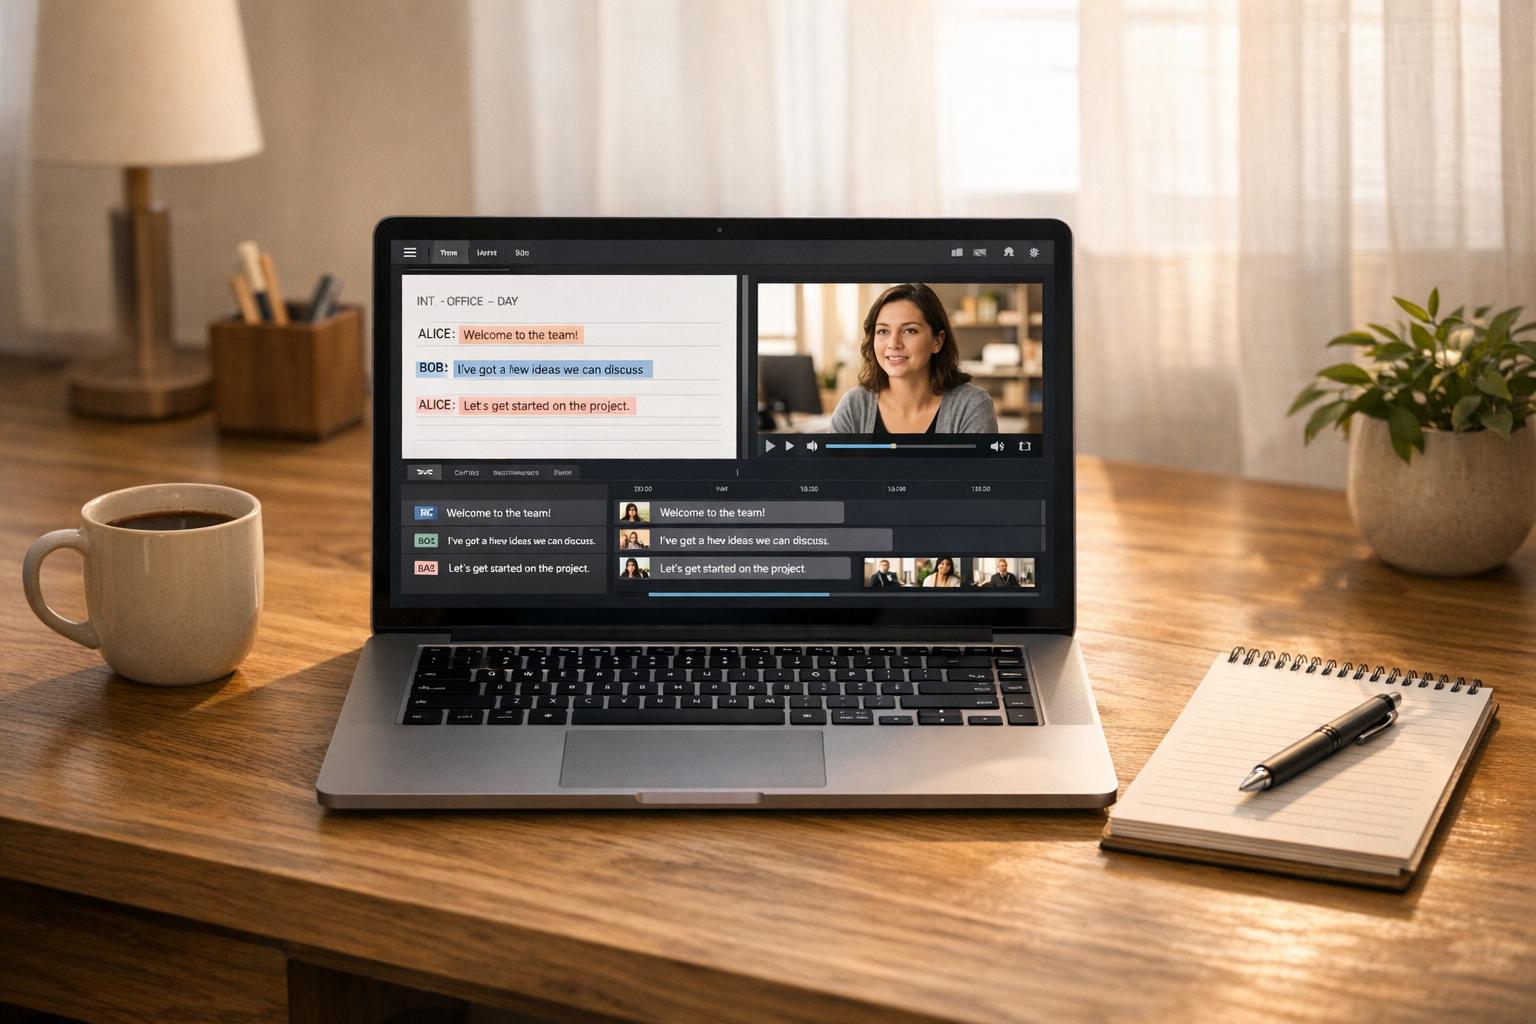
After the live stream ends, the transcript becomes the working draft for repurposing. OpenClip transcribes the audio, runs speaker diarization, and uses face detection to match speakers with faces on screen. That mix of audio and visual analysis turns the transcript into something you can edit for clips.
A 2-hour stream VOD can be processed into 8–12 clips in under 10 minutes. OpenClip exports those clips in formats built for TikTok, Reels, Shorts, X, and LinkedIn, and it automatically reframes them to vertical 9:16 for mobile-first platforms. At that point, the transcript isn't just a record of what was said. It's the raw material for platform-ready clips.
"Editing was honestly the only reason I never posted consistently. Dumped a bunch of raw footage in and got back a folder full of clips." - Shivam Rana, Filmmaker
How to Get Cleaner Transcripts Before and During Recording
Better recording conditions can push live transcription closer to 90%+ accuracy. And the best part is that most fixes happen before you press record.
The fastest way to get better live transcripts is simple: cut noise and make speech easier to process before the model hears it.
Set Up Better Audio with Mic Placement and Room Control
Use a directional mic and keep it about 6–12 inches from your mouth. That one move alone can make a big difference. If the room sounds echoey, add acoustic panels or record in a quiet space with soft furniture to absorb sound.
Before you start, shut off fans, HVAC, and any other steady hum in the room. Those sounds may seem minor to you, but they can trip up captions in a hurry. It also helps to monitor with headphones so you can catch feedback before it becomes a problem.
Every error you prevent here is one less thing to fix later.
Speaking Habits That Help Captions Stay Accurate
How you speak matters just as much as the gear. Speak at a steady pace, pronounce words clearly, and leave short pauses between points . That gives the system cleaner chunks to process and makes the captions easier to read live.
If you're running interviews or panels, try not to talk over each other. Overlapping speech is one of the top causes of transcript mistakes . It’s a mess for humans, and it’s no picnic for transcription tools either.
For brand names, product terms, and acronyms, add a custom vocabulary list in your transcription tool. That can reduce errors on those words by 10% to 30%.
Once the transcript starts cleaner, editing gets faster and a lot more exact.
What Helps Most
Improvement Impact on Accuracy Effect on Latency Ease of Implementation Viewer Experience Mic choice + placement High None Easy Stable volume, fewer errors Acoustic panels or soft furnishings Medium-High None Moderate Less echo, cleaner sound Turn off fans/HVAC before recording Medium None Easy Lower noise floor Moderate pacing and clear enunciation High None Moderate Easier to follow live Short pauses between key points Medium None Moderate Better caption readability Avoiding overlapping speech in multi-speaker setups High None Hard Cleaner speaker separation Custom vocabulary list for jargon High on jargon None Easy Correct brand names and terms Separate audio tracks per speaker High Low Moderate Accurate speaker labelsThese small changes cut cleanup time and make the transcript much easier to turn into clips. That cleaner draft is what makes transcript-first repurposing work.
Cleaner transcripts are the starting point for faster clips, posts, and campaign assets.
How to Turn Live Transcripts Into Clips, Posts, and Campaign Assets
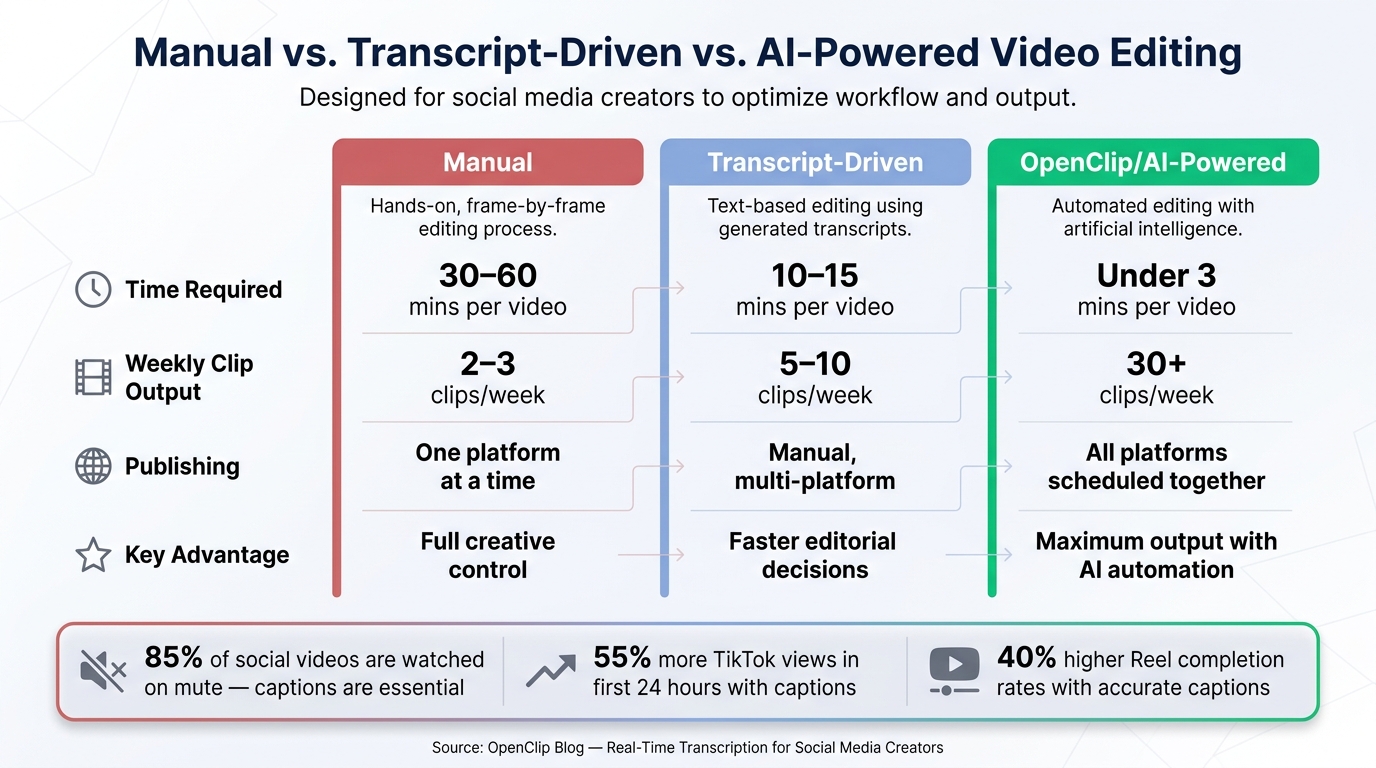
Manual vs. Transcript-Driven vs. AI Video Editing: Time, Scale & Speed
Use the transcript as your edit map. Find the strongest lines first, then cut the video around them.
Build a Transcript-First Repurposing Workflow
Start by reading the transcript, then move to video editing. Instead of dragging through the timeline, scan the text for strong moments: surprising stats, sharp opinions, or a clean story arc. That first pass is 5–10x faster than scrubbing through video.
After you’ve marked the best parts, the workflow is pretty simple: export the transcript, fix small errors, pick the lines that shape each clip, then turn those lines into clips, captions, and posts. A single 60-minute interview - about 9,000 words of transcript - can produce 6–18 publishable clips after quality filtering.
Those same lines can do more than one job. They can become:
- quote cards
- captions
- social posts
- campaign assets
To keep output focused, aim for three clip archetypes: Insight clips (15–30 seconds) for quick tips, Story clips (45–90 seconds) for narrative arcs, and Debate clips to spark comment activity. Each one fits a different platform and a different kind of viewer intent.
How OpenClip Handles Text-Based Editing, Speaker Detection, and Multi-Format Output
OpenClip is built around this workflow. You upload a long-form video - a webinar VOD, a podcast recording, or a customer education session - and it scans the transcript on its own, scoring segments by hook, pacing, and completeness. That means you don’t have to dig through the footage by hand.
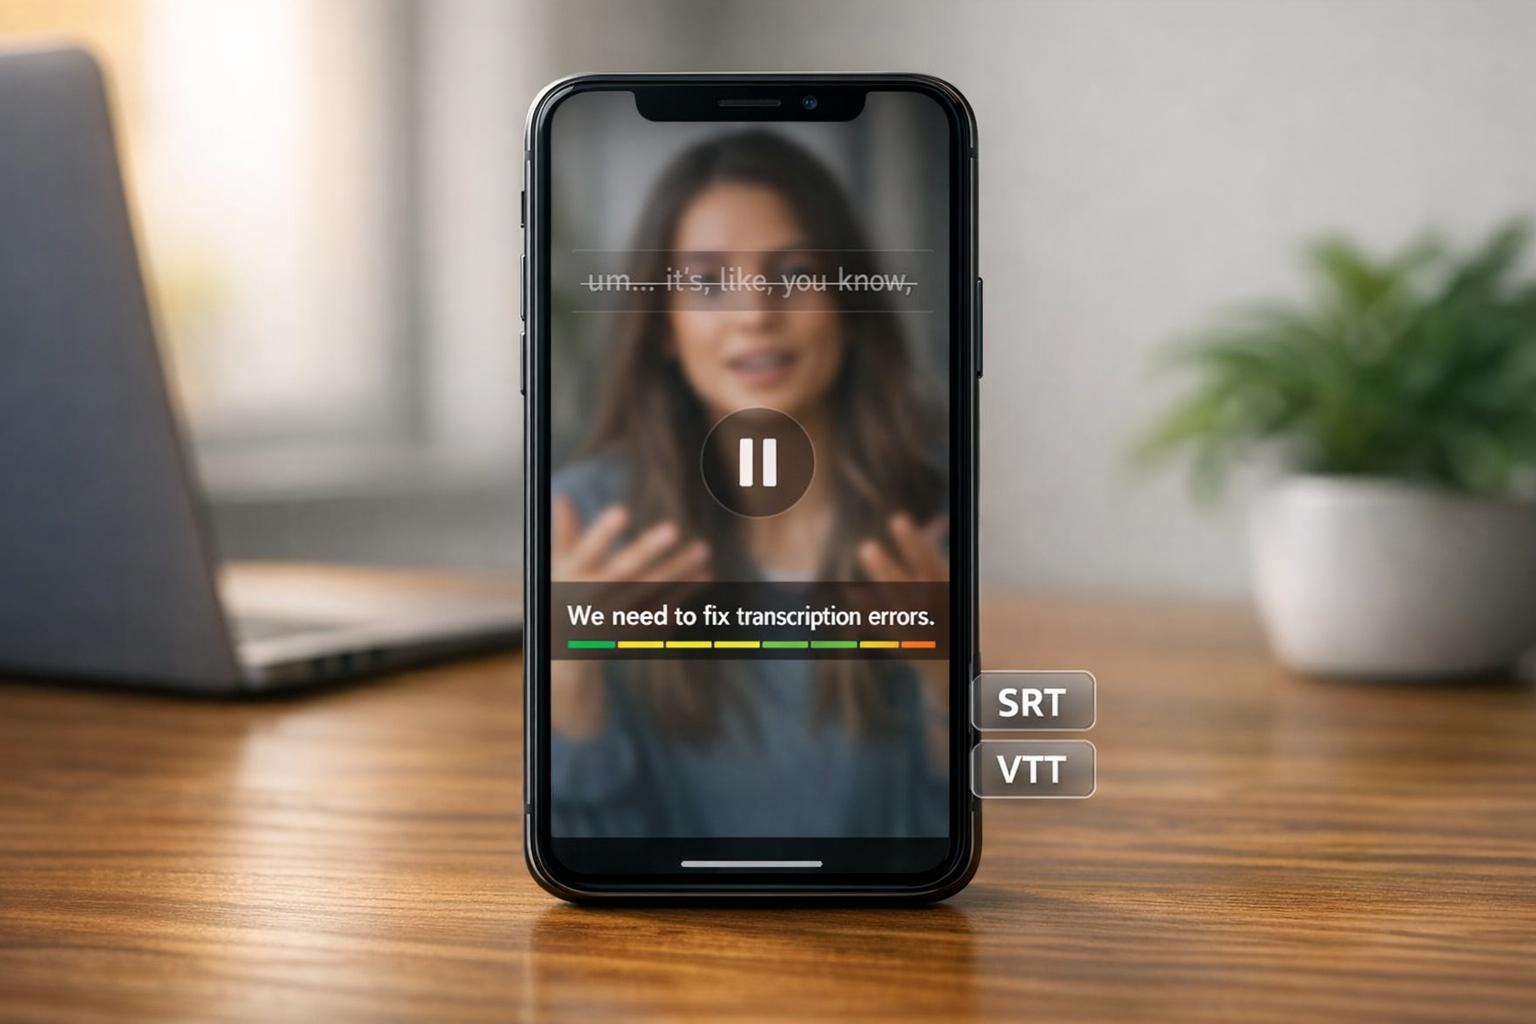
It also takes care of the busywork: filler word removal, silence removal, speaker detection to keep the active speaker centered in frame, and auto-reframing into 9:16, 1:1, and 16:9 formats. Finished clips can be scheduled straight to TikTok, Reels, Shorts, X, and LinkedIn in one flow. The result: editing time drops from 30–60 minutes per video to under 3 minutes.
Manual vs. Automated Repurposing Workflow Comparison Table
The main difference is volume. If you need to publish more, the workflow matters fast.
Feature Manual Video Editing Transcript-Driven Editing OpenClip-Based Workflow Time Required 30–60 mins per video 10–15 mins per video Under 3 mins Scalability Low (2–3 clips/week) Medium (5–10 clips/week) High (30+ clips/week) Publishing Speed One platform at a time Manual, multi-platform All platforms scheduled together Key Advantage Full creative control Faster editorial decisions Maximum output with AI automationOnce the workflow is set, the next step is measuring transcript quality so cleanup stays fast.
How to Measure Transcription Quality and Keep Improving Over Time
Metrics That Affect Editing Time and Viewer Experience
Once you export a transcript, don’t just clean it up and move on. Measure the quality. That’s how you make each new recording easier to edit than the last one.
Transcript quality has a direct effect on both editing speed and viewer experience. Bad captions eat up time in review, and they pull viewers out of the video. Start by tracking WER and correction time. For clean audio, a good target is under 5% WER. And a focused review of a 2,000-word transcript should take about 5–10 minutes. If those numbers start climbing, the issue usually comes from the audio setup or the speaker’s pace before it comes from the transcription model itself.
Caption accuracy also ties into retention. If completion rate starts to dip, check the transcript at the exact point where viewers drop off. A lot of the time, you’ll find a caption mistake, a pacing problem, or both.
Build a Repeatable Review Process for Names, Jargon, and Recurring Errors
The fastest review method is simple: scan for the usual problem spots - capitalized words, numbers, and acronyms. That’s where AI transcription tends to slip most often, especially with brand names, technical jargon, and numerical data.
Instead of rereading the full transcript line by line after every recording, do a targeted review pass. Keep a simple glossary of product names, industry terms, and common acronyms. It makes review work faster and keeps captions consistent across clips. If the same term keeps showing up wrong, use timestamps to jump straight to that section and confirm the spelling.
Conclusion: Use Real-Time Transcription as the Starting Point for Faster Repurposing
Track these metrics on every recording, fix recurring errors, and use cleaner transcripts to move faster from livestream to clip.
Here’s what to watch first:
Metric How to Measure Quality Threshold Why It Matters Word Error Rate (WER) Count the percentage of words that need correction in a sample <5% for clean audio; <10% for live streams Lower WER reduces manual correction time Caption Latency Measure the delay between speech and text display <2 seconds for live streams Lower latency keeps live viewers engaged Correction Time Track minutes spent on a focused review pass About 5–10 minutes for a 2,000-word transcript Faster reviews make daily publishing easier Viewer Engagement Monitor completion rate and average watch time 38% higher completion rates and about 40% more watch time with captions Accurate captions help viewers stay with the contentFAQs
How accurate is real-time transcription in real use?
Modern AI transcription tools often hit 95%+ accuracy. And when the audio is clean, they can get as high as 99%.
That said, audio quality makes a huge difference. Background noise, people talking over each other, or strong accents can push accuracy below 85%.
OpenClip helps smooth out those small errors with text-based editing, confidence scores, and one-click filler word removal.
What’s the fastest way to improve transcript quality?
Start with the best audio you can get. Use a decent microphone, cut background noise, avoid people talking over each other, and upload the original source file instead of a compressed copy.
After transcription, check the low-confidence segments that OpenClip flags. Then make quick fixes to technical terms, proper nouns, and any jargon that’s specific to your field.
How do transcripts become more social clips?
Transcripts give you a searchable, text-based map of your content. OpenClip uses that map to spot and score standout moments, like strong hooks, useful insights, or compelling questions.
From there, you can fine-tune clips with text-based editing. Cut filler words or long pauses right in the transcript, and the matching video updates on its own. That means a cleaner result without dragging through the timeline by hand.
Turn one video into a week of content.
Try OpenClip free