Video Content Creation Checklist for Creators
Learn how to create engaging video content with a step-by-step checklist covering planning, filming, editing, and optimizing for social media.
Originally published November 21, 2025
Updated November 23, 2025
In this article
Video Content Creation Checklist for Creators
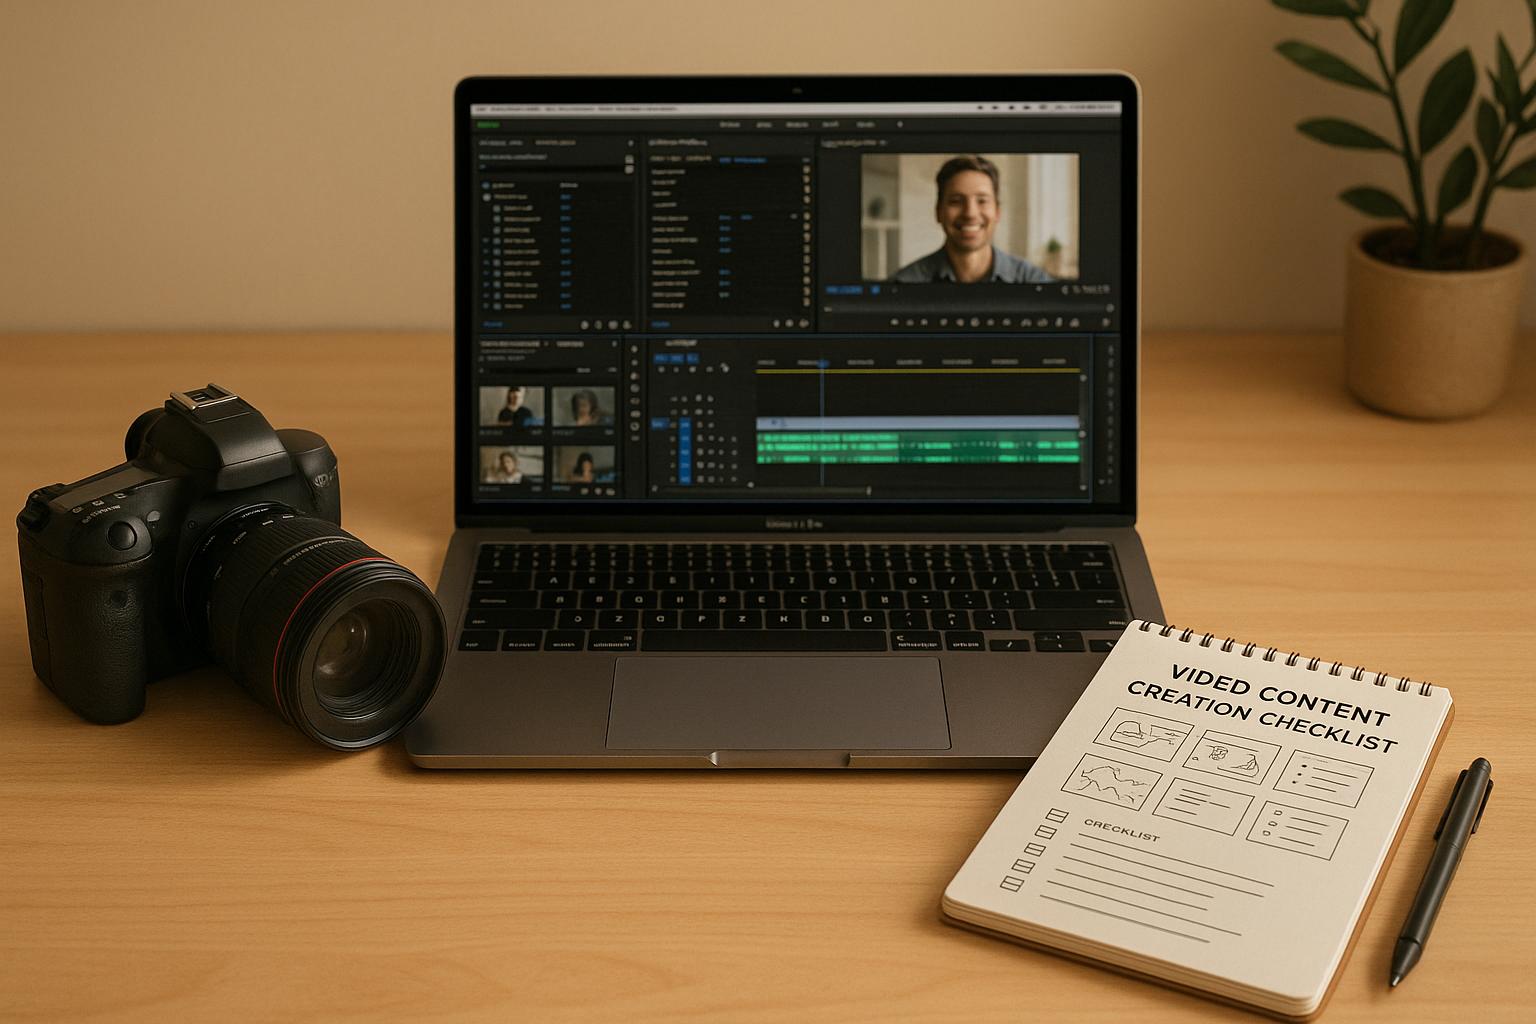
Creating great video content can feel overwhelming, but a clear process simplifies the journey. Here's a quick breakdown of how to plan, film, edit, and share your videos effectively:
- Start with a Plan: Define your goals and audience. Write a script or outline and visualize your shots with a storyboard.
- Set Up for Success: Use the right equipment (e.g., 4K smartphones or DSLRs), ensure good lighting, and prepare your filming space for clean visuals and sound.
- Edit Like a Pro: Organize files, trim unnecessary footage, and add text, captions, and music. Tools like OpenClip can speed up editing with AI features like transcription, clip scoring, and silence removal.
- Optimize for Platforms: Adjust video formats (vertical, square, or horizontal) and add captions, titles, and platform-specific tags.
- Repurpose Content: Break long videos into short clips tailored for TikTok, Instagram, YouTube, and LinkedIn. Use analytics to refine your strategy and maximize impact.
This checklist ensures you stay organized, save time, and create videos that resonate with your audience.
The Ultimate 12-Step YouTube Video Checklist
Planning Your Video Content
Having a clear plan for your video is crucial - no amount of fancy equipment can save a project that lacks direction. A solid plan not only keeps your production on track but also boosts the chances that your video will connect with viewers instead of getting lost in the crowd.
Define Goals and Target Audience
Every great video starts with two key questions: What do you want to achieve? and Who is your audience? Maybe you're looking to build brand awareness, drive sales, boost engagement, or educate your viewers. Each goal calls for a unique approach to your content and messaging.
Knowing your audience - what they like, their age group, and their interests - is the foundation of creating a video that speaks directly to them. This insight ensures your video hits the mark, whether its purpose is to entertain, inform, or promote.
For example, a video designed for Gen Z might use a playful tone and fast-paced visuals, while one aimed at business professionals would likely lean on a more polished and formal style. Once you’ve nailed down your goals and audience, you’re ready to outline a clear and structured narrative.
Write a Script or Outline
Think of the script as the backbone of your video. It organizes everything - dialogue, actions, and flow - into a cohesive story. Even if you're going for a casual, off-the-cuff vibe, having a basic outline keeps you focused.
A good script should cover the essentials: an engaging introduction, the main content, and a strong conclusion. Write everything in chronological order, including dialogue, camera directions, and any on-screen actions. This level of detail ensures nothing gets forgotten when it’s time to shoot.
For short videos (around 5 minutes or less), a one- or two-page script usually does the job. If you’ve already created a storyboard, use it to flesh out your script with specifics like setting descriptions, key visuals, and prop requirements. This step smooths out the production process and helps you plan for things like lighting and camera setups.
Create a Storyboard
A storyboard brings your script to life visually, laying out key scenes and transitions. It’s a simple yet powerful tool that can save time and prevent headaches during filming by identifying potential issues early.
Don’t worry if you’re not an artist - stick figures or simple sketches work just fine. The goal is to map out shot composition, camera movements, and scene transitions. Add notes about props, lighting, and any special effects or graphics you’ll need during editing.
To stay efficient, consider creating a shot list alongside your storyboard. Group similar shots together - for instance, film all close-ups in one session before switching to wide shots. This approach minimizes setup changes and ensures you capture every angle you’ll need. Plus, having multiple angles gives you more flexibility during editing and makes it easier to use AI tools for polishing or repurposing content later on.
Setting Up for Filming
Once your planning is done, it’s time to bring your vision to life. The way you set up your equipment and environment can make or break your final product. A well-prepared setup not only saves you hours of editing but also gives your video a polished, professional edge.
Select Your Equipment
The tools you choose should match the purpose of your video and where it will be shared. For most social media content, a smartphone that shoots in 4K resolution is more than enough. Just make sure you’ve set it to the highest resolution available. To avoid shaky footage, think about using a stabilizer - it’s a small investment that makes a big difference.
If you want more control over things like depth of field or low-light shots, a DSLR or mirrorless camera is a great option. These cameras are easier to handle than professional cinema equipment but still deliver high-quality results.
Lighting is just as important as your camera. A basic three-point lighting setup works wonders - it includes a key light, fill light, and background light. Affordable LED panel lights are a good choice, or you can use natural light by filming near a window during the golden hours (early morning or late afternoon) for soft, flattering light.
For audio, skip the built-in camera microphone - it won’t give you the clarity you need. Instead, go for a lavalier microphone that clips to your clothing or a shotgun microphone that attaches to your camera. Both options capture cleaner, more focused sound and help cut out background noise.
Once you’ve got your equipment ready, it’s time to set up your filming space.
Set Up Your Filming Space
Your background is one of the first things viewers notice, so keep it simple and purposeful. A clean wall, bookshelf, or a custom backdrop works well and keeps the focus on your message. Avoid cluttered or distracting elements that might pull attention away from your content.
Lighting placement is key to avoiding harsh shadows or unflattering angles. Position your key light at a 45-degree angle from your subject, about 6 feet away, and slightly above eye level. If you’re using natural light, avoid sitting directly under overhead fixtures or in front of bright windows, as these can create unwanted silhouettes or glare.
Soundproofing your space is another step toward professional-quality videos. Choose a quiet area with soft furnishings like rugs, curtains, or upholstered furniture to reduce echoes. If your location isn’t ideal acoustically, hanging blankets or filming in a smaller, cozier room can help.
Props and set decorations should support your message but stay out of the frame unless they’re being used. Keep things tidy and intentional, and always do a quick test recording to check for any distractions, lighting issues, or audio problems before you start filming.
When your space is ready, focus on capturing a variety of shots to make your video dynamic and engaging.
Film Multiple Angles and Shots
Shooting from different angles and capturing a mix of shots makes your video more interesting and gives you more options during editing. Use wide shots to set the scene, medium shots for conversations or demonstrations, and close-ups to highlight important details or emotions. Don’t forget to capture B-roll - extra footage that supports your main content. These clips can help bridge edits, explain concepts visually, and keep your audience engaged.
Experiment with camera angles to add depth and emphasis. Eye-level shots feel natural and conversational, while slightly higher angles can make your content more approachable. Steer clear of extreme angles unless they serve a specific creative purpose.
Film key moments multiple times to ensure you have the best takes to choose from. Also, don’t forget to record a few seconds of room tone (the natural sound of your filming space). This can be a lifesaver during editing, helping to smooth out audio transitions and fill any gaps. A little extra effort during filming goes a long way in creating a polished final product.
Editing and AI Tools
Editing takes raw footage and turns it into polished, engaging content. This stage is where technical skills meet creative strategy, ensuring your video grabs and holds your audience’s attention. Thanks to modern AI tools, this process has become faster and more streamlined.
Organize Your Files
Before diving into edits, get your files in order. A well-organized file structure can save you time and headaches. Create folders with clear labels like "Raw Footage", "Audio Files", "Graphics", "Music", and "Final Exports." Within the raw footage folder, sort clips by date, scene, or camera angle - whatever approach works best for your project.
Always back up your files. Use cloud storage services like Google Drive or Dropbox, or rely on an external hard drive. Losing your work to a computer crash or corrupted file can derail your entire project.
Descriptive file names are a lifesaver. Instead of generic labels, use names like "Interview_John_Take2" or "Product_Demo_CloseUp" to quickly locate what you need. This becomes even more critical when managing multiple projects or working with a team.
When setting up your editing software, establish a timeline and label each track. Separate video, audio, music, and graphics onto different tracks. This makes it easier to tweak individual elements without affecting the rest of your project and keeps your workspace organized.
Once your files are in place, you’re ready to start refining your footage.
Edit for Viewer Engagement
Your editing decisions directly impact how long viewers stick around. Start strong by placing your most attention-grabbing moment within the first 3–5 seconds. This could be a bold statement, a thought-provoking question, or a quick teaser of what’s ahead.
Pacing is everything. Cut out long pauses and trim moments where nothing meaningful happens. Use quick cuts and intentional jump cuts to keep the energy up and emphasize key points. When using jump cuts, ensure enough visual variation between shots so transitions feel purposeful rather than jarring.
Incorporate text overlays, graphics, and B-roll to enhance your message. These elements can smooth transitions and add visual interest. Stick to consistent brand colors and fonts to maintain a polished, professional look.
Don’t overlook audio quality - it’s just as important as visuals. Use audio editing tools to reduce background noise and balance volume levels so your voice is crisp and clear. Adding background music at a subtle volume can set the mood without overshadowing your message.
Use OpenClip's AI Features
OpenClip’s AI tools take care of time-consuming tasks, letting you focus on creativity. Here’s what it can do:
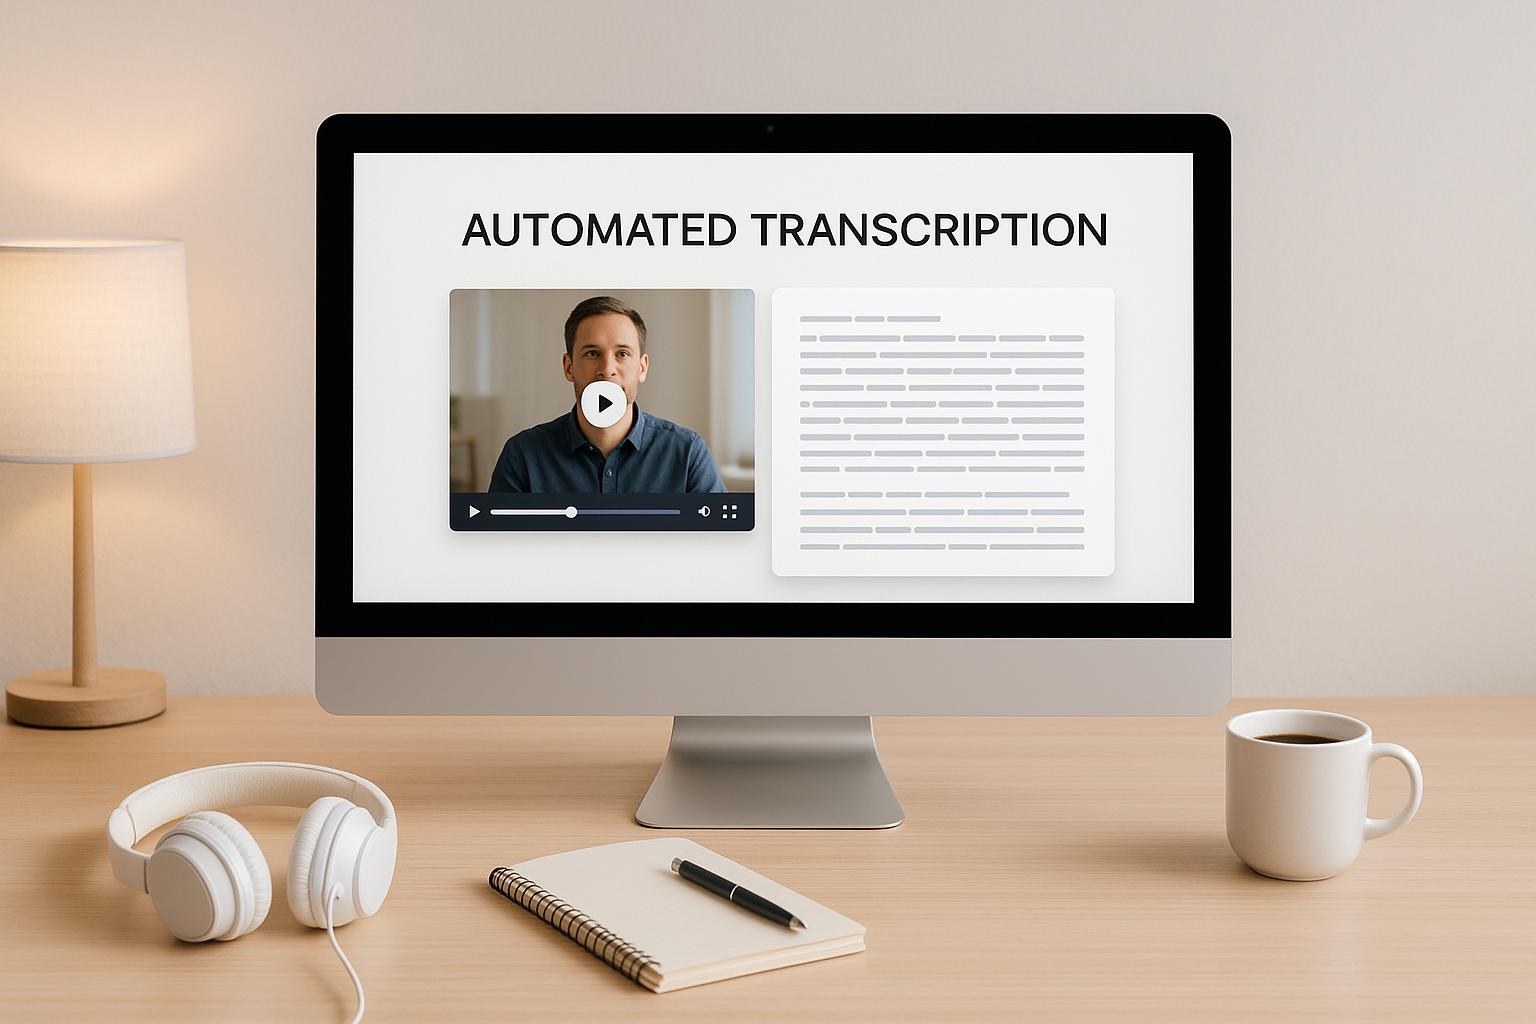
- Automatic transcription converts spoken words into text, making it easier to create captions and transcripts.
- Speaker detection identifies different voices in your footage, simplifying edits for multi-person conversations.
- Smart clip scoring highlights the most engaging segments, perfect for creating short-form content.
- AI-powered multi-format clip creation optimizes content for specific platforms - vertical for TikTok and Instagram Reels, square for Instagram posts, and horizontal for YouTube Shorts or LinkedIn.
- Text-based editing allows you to edit your video by tweaking the transcript, minimizing the need for complex timeline adjustments.
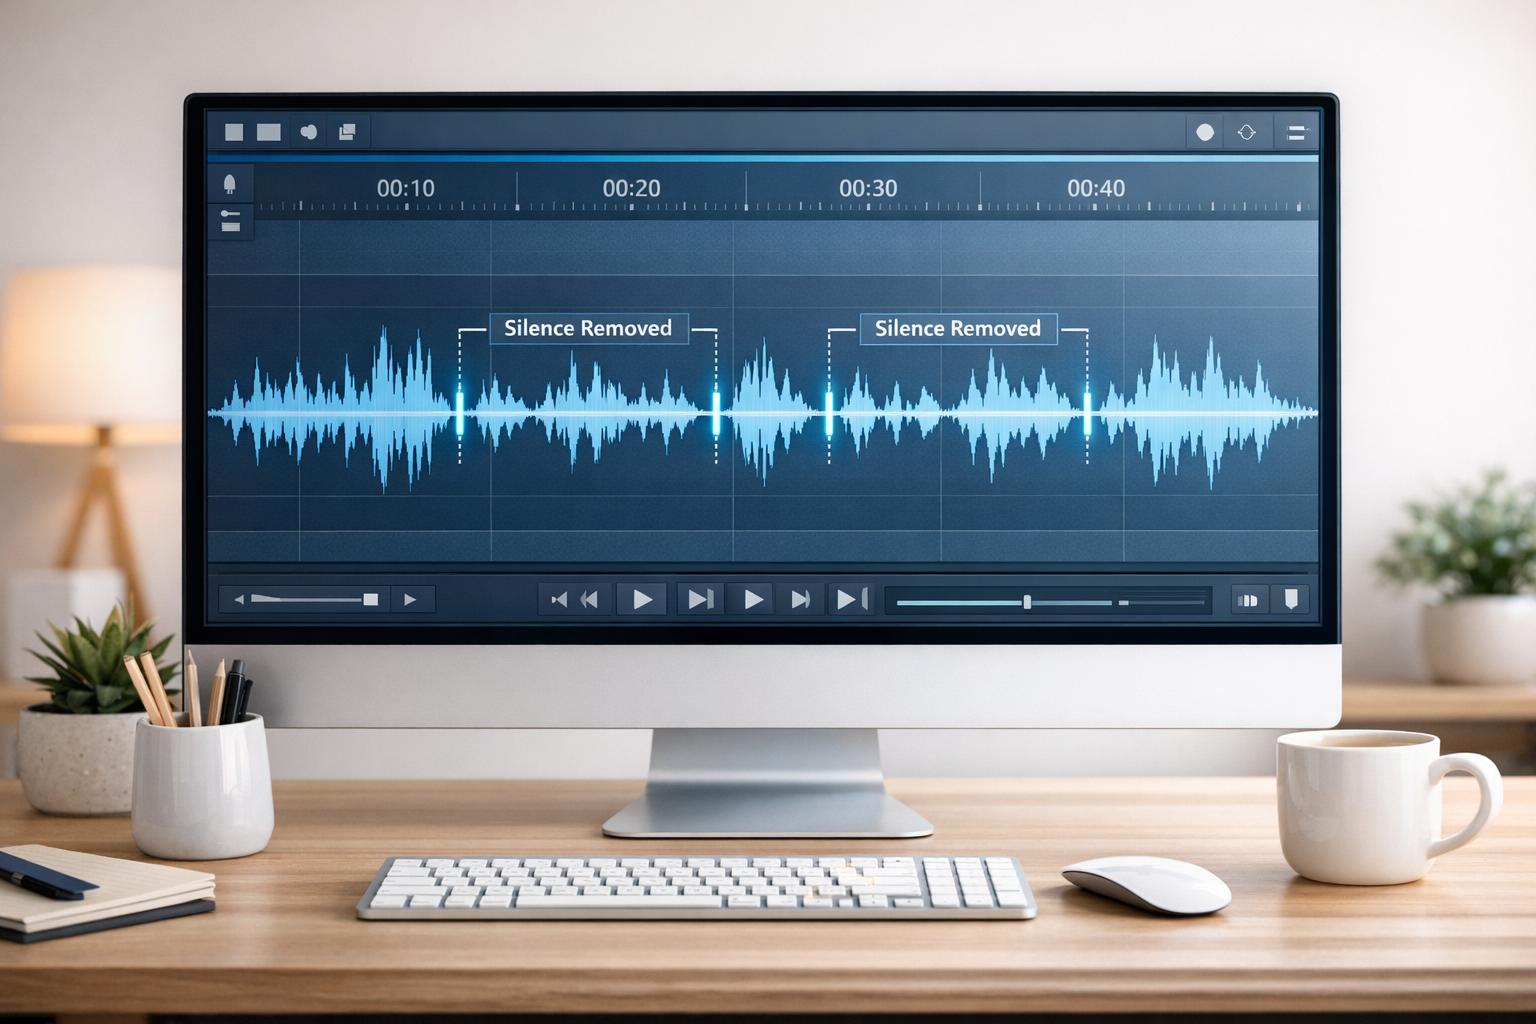
- Filler and silence removal automatically cuts out unnecessary pauses and filler words, speeding up your workflow.
With tools like these, you can streamline the editing process and focus on delivering compelling content that resonates with your audience.
sbb-itb-5598afdOptimizing for Social Media Platforms
After editing your video, the next step is customizing it for each social media platform. Every platform has its own quirks, audience preferences, and technical requirements. What grabs attention on TikTok might fall flat on LinkedIn, and understanding these differences can determine whether your content gets noticed or overlooked.
Adapt Content for Each Platform
TikTok thrives on short, vertical videos with a 9:16 aspect ratio. Videos under 60 seconds perform best, and the platform rewards creators who use its native features - like effects, sounds, and trending hashtags. Keep your key action in the center vertical third of the screen to avoid interference from interface elements.
Instagram Reels also prioritize vertical 9:16 videos, but square (1:1) videos work well in the main feed due to their visibility on mobile screens. Instagram audiences often expect a slightly more polished look compared to TikTok.
YouTube Shorts stick to the vertical 9:16 format, while traditional YouTube videos use a horizontal 16:9 aspect ratio.
LinkedIn caters to a professional audience, so videos should be succinct (ideally under 3 minutes). Both square (1:1) and horizontal (16:9) formats work well, especially for educational or thought-leadership content.
X (formerly Twitter) favors short, engaging videos in square or horizontal formats. The key is to grab attention quickly, as users scroll fast.
"Videos are projected to account for over 82% of all consumer internet traffic by 2025".
Paying attention to each platform’s technical requirements can significantly improve your content's visibility. Export your videos in the highest quality allowed by each platform to avoid issues like compression artifacts.
Add Captions and Brand Elements
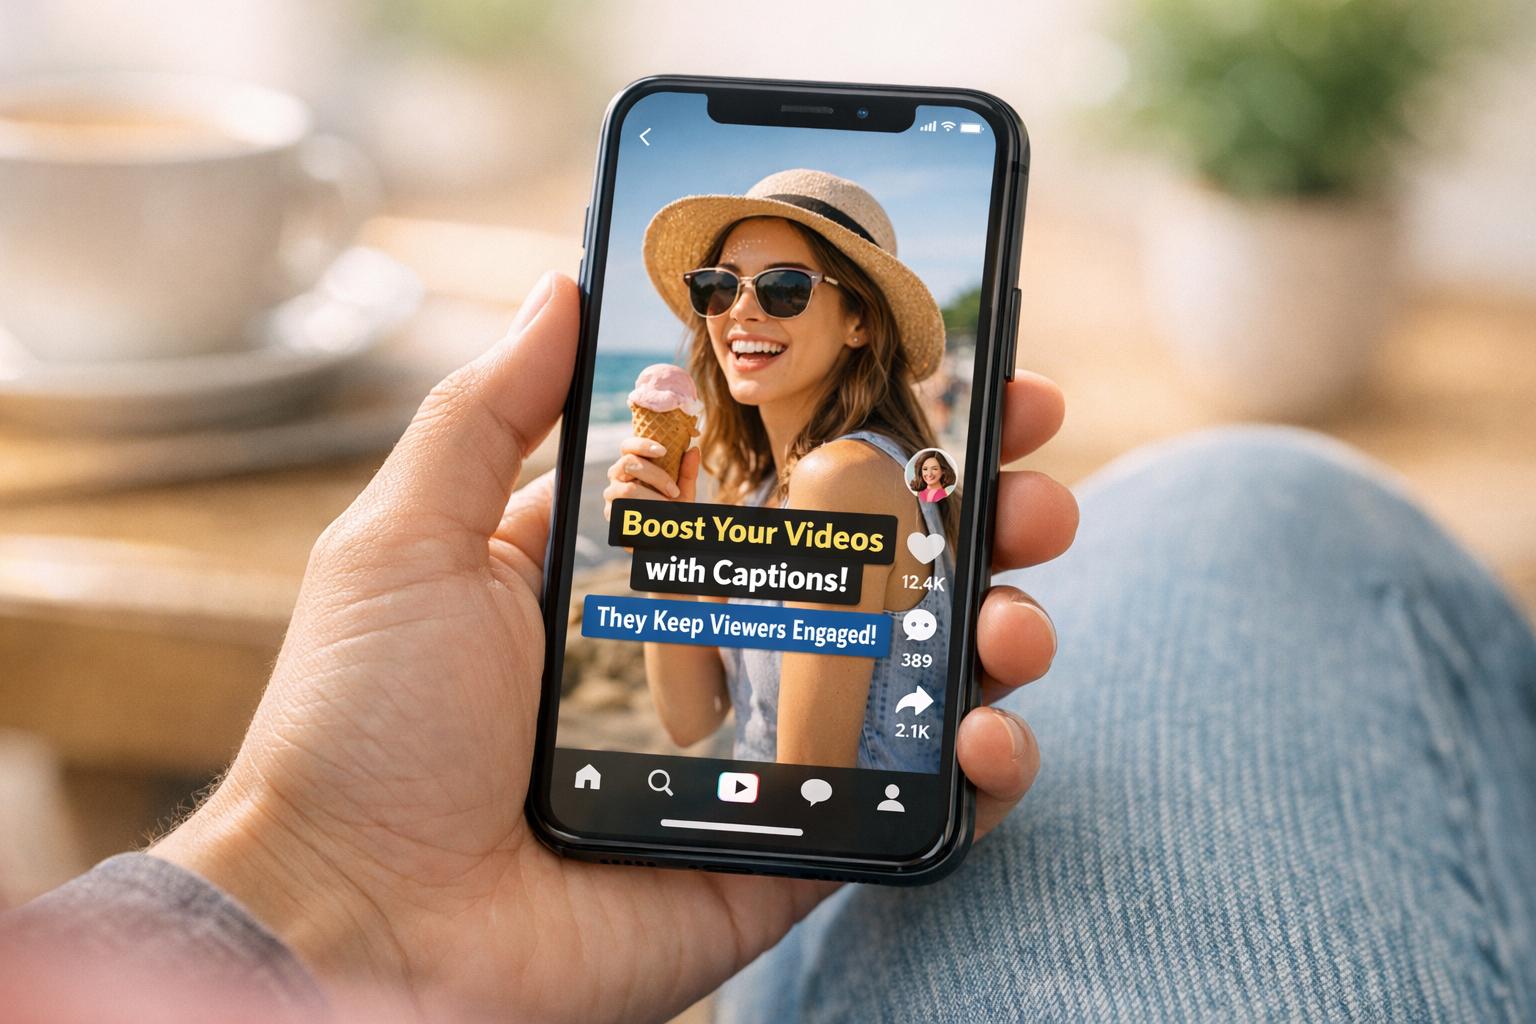
Adjusting the format is just the start. Adding captions and consistent branding is equally important. Captions are a must-have since many users watch videos without sound - around 70–80% of TikTok users watch in silent mode. Always review auto-generated captions for accuracy, and use fonts that are clear and easy to read with sufficient contrast against the background.
Branding should be subtle but consistent. Place your logo in a corner where it won’t clash with platform overlays, and stick to your brand’s colors and fonts to build recognition. Avoid overly prominent branding, as it can turn viewers away. Similarly, while watermarks can protect your content, excessive use might hurt your reach - some platform algorithms penalize heavily watermarked videos. Tools like OpenClip’s Pro or Business plans can help you remove watermarks for cleaner visuals.
Adding call-to-action overlays is another way to boost engagement. Simple prompts like "Follow for more tips" at key moments can encourage viewers to interact with your content.
Write Platform-Specific Titles and Tags
Crafting the right titles and tags for each platform is essential. On YouTube, detailed titles and descriptions with relevant keywords improve search visibility. Aim to include your main keywords early in the description.
On TikTok, trending hashtags and challenges play a big role in reach. Use a mix of popular and niche hashtags to strike the right balance. For Instagram, research shows that engagement is highest with about 5–10 relevant hashtags. LinkedIn, on the other hand, benefits more from professional, discussion-driven copy rather than hashtag-heavy posts. Over on X, keep your captions concise and impactful, with one or two hashtags for best results.
Personalized content can make a huge difference - videos tailored to specific audiences generate three times the engagement of generic ones. Adjust your tone, titles, and descriptions to align with each platform’s audience and culture. Use analytics tools to monitor performance and refine your strategy over time. These small adjustments can help your video content stand out and succeed across multiple platforms.
Repurposing and Workflow Management
Once you've polished your video content, the next move is to stretch its lifespan by repurposing it and organizing your workflow effectively. Repurposing allows you to amplify your reach. A single long-form video can transform into numerous shorter clips, each tailored for specific platforms and audiences. The trick is to create a system that broadens your content's impact without exhausting you.
Turn Long Videos into Short Clips
Breaking long videos into shorter, digestible clips is a highly effective way to expand your content's reach. For example, a 30-minute video can easily be divided into 10–15 clips, each 15 to 60 seconds long. These shorter clips can focus on key points, surprising stats, emotional highlights, or actionable advice. They work well as standalone pieces because they offer quick value to your audience. When filming, pause between major topics to make editing smoother later on.
Tools like OpenClip's AI can simplify this process. OpenClip's features can automatically identify engaging moments and adjust aspect ratios for different platforms. Whether you need vertical 9:16 clips for TikTok and Instagram Reels, square 1:1 versions for Instagram posts, or horizontal 16:9 clips for YouTube, the tool handles resizing for you. This allows you to create multiple versions from one video without the hassle of manual adjustments.
Monitor Performance Data
Pay close attention to metrics like average watch time, engagement rates, and share frequency. For instance, if your 30-second clips consistently outperform 60-second ones, that’s a clear indicator of your audience's preferences. Similarly, tracking whether educational content gets more shares than entertainment-focused pieces can help you refine your approach.
Compare how your content performs across platforms. A clip that struggles on TikTok might thrive on LinkedIn due to differences in audience expectations. By analyzing these trends, you can tailor your strategy for each platform.
You don’t need fancy tools to track performance - a basic spreadsheet can do the job. Log key metrics like views, engagement rates, top-performing platforms, and content types. Over time, patterns will emerge that can guide your future decisions. Use these insights to fine-tune your repurposing strategy and improve engagement across all platforms.
Review Content Regularly
Set aside time each month to audit your content for repurposing opportunities. Update evergreen material and tweak seasonal content as needed. Tutorials or how-to videos from months ago can be refreshed into a quick tip series. Even content that didn’t perform well initially might succeed on a different platform or with a fresh format.
A content calendar can help you balance new and repurposed material. Many creators follow the 70-30 rule, dedicating 70% of their content to repurposed or updated material and 30% to brand-new ideas.
Batch processing can also save time. Instead of creating clips one by one, schedule specific days to work on multiple long-form videos. If you’re collaborating with editors or virtual assistants, tools like OpenClip simplify teamwork. You can upload videos, assign tasks, and review completed clips - all within one platform.
Regular reviews not only reveal new opportunities but also ensure your content strategy evolves with your audience’s preferences. The aim isn’t just to churn out more content - it’s to build a manageable system that keeps your audience engaged while giving you space to focus on creativity and planning. When repurposing becomes part of your routine, content creation feels less like a chore and more like a strategic advantage.
Key Takeaways
Creating videos doesn’t have to feel overwhelming when you break it into smaller, repeatable steps. Start with strong planning - clearly define your goals and understand your target audience before you even hit record. This groundwork will guide everything, from writing the script to editing the final cut.
Focus on the basics: good lighting and clear audio make a bigger impact than splurging on high-end gear. When filming, capture a variety of angles and shots. These extra takes give you flexibility during editing and make it easier to repurpose content later.
Editing is where your video truly comes to life. Tools like OpenClip's AI can help identify standout moments and resize clips automatically for different platforms, saving you time.
Tailor your videos for each platform by adjusting titles, descriptions, hashtags, and captions to match what your audience expects. This small step can make a big difference in engagement.
Maximize your content by breaking longer videos into shorter clips. Keep an eye on performance metrics to figure out which lengths and topics resonate most with viewers.
To keep things running smoothly, set up a sustainable workflow. Use content calendars, batch filming, and regular reviews to stay consistent without burning out.
FAQs
Turn one video into a week of content.
Try OpenClip free